Top 3 Projects from How to Make an iPhone App for iOS 7 in January 2014

We ran another successful app challenge in my new course How to Make an iPhone App for iOS 7! There were 47 projects submitted for the competition and it was narrowed down to three winners. Each of these students has built an app from scratch and taught themselves Objective-C and iOS app development along the way.

The students started with sketches based on their app ideas, moved to paper prototyping, and then began writing code to bring the app to life. Checkout the project pages and leave some love!

1st Place

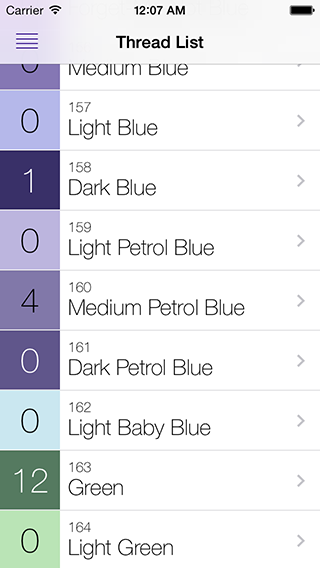
Thread List: Embroidery Floss/Thread Manager

by Josh Greco

"There are hundreds of different colored embroidery flosses and it can be difficult to keep track of what you have on-hand versus what you need for any given project. This application aims to simplify this task and help ensure you always have enough of the materials you need.

Features:

  1. Maintain a database of embroidery floss on-hand.
  2. Maintain a database of personal projects and their embroidery floss requirements.
  3. Maintain a database of all available embroidery floss produced by the DMC manufacturer.

My wife is an avid "stitcher" and has thusfar been unhappy with existing apps which advertise similar functionality. If I can make something she can use and enjoy, it stands to reason that others would find it useful."

2nd Place

ClimbNotes

by Trish Ang

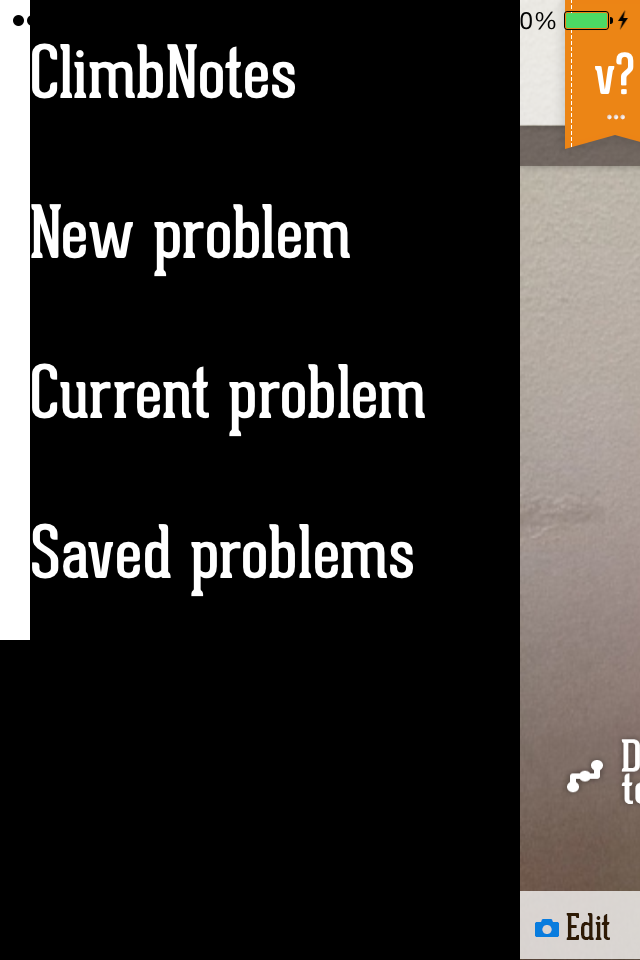
"ClimbNotes is an app for rock climbers! More specifically, it's a personal note-taking app for any projects that a climber is working on. A project is a climbing route that requires multiple tries and sometimes long periods of time to complete. 

This app is actually a sub-function of a larger app I'm developing, SuperBeta: an interactive guide for outdoor climbing. Since the functionality is a lot more simple, however, I'm focusing on learning the basics of objective C and also learning how to customize the UI through Xcode. 

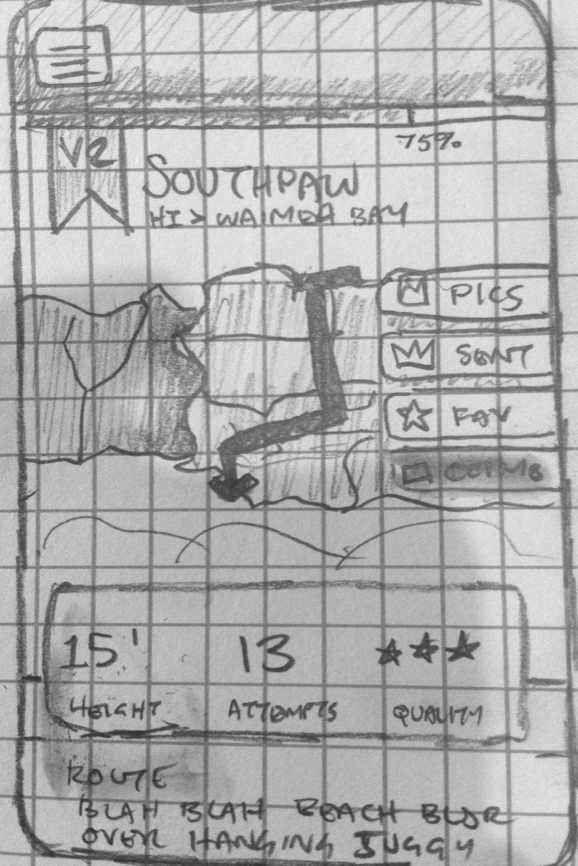
Below is an early sketch and a test walkthrough is available here. The functions for ClimbNotes are basically:

  • Add a new route
    A route requires at least one image. You can add a title, a difficulty grading, a quality grading, and tie it to a location. You can also add supplemental information like a description, categorize the type of climb it is, etc. If possible, I'd also like the user to be able to trace the route onto the photo.
  • Take notes on your progress
    On routes you've already recorded, you can make notes for each attempt you make. For example, I can say I tried the route again last Sunday and got two moves further, but still fall around 70% through."

ClimbNotes Video Link

3rd Place

Brewer Note

by Andy Culler

"What's the biggest problem with homebrewing? Forgetting an awesome recipe! From brewday to cracking that first bottle is at least 3 weeks, which is plenty of time to not write it down.  Why not record your recipe as you're brewing, complete with notifications for every step of the way?  BrewerNote brings this all to your phone along with brew history, recipe sharing, and more

Recipes

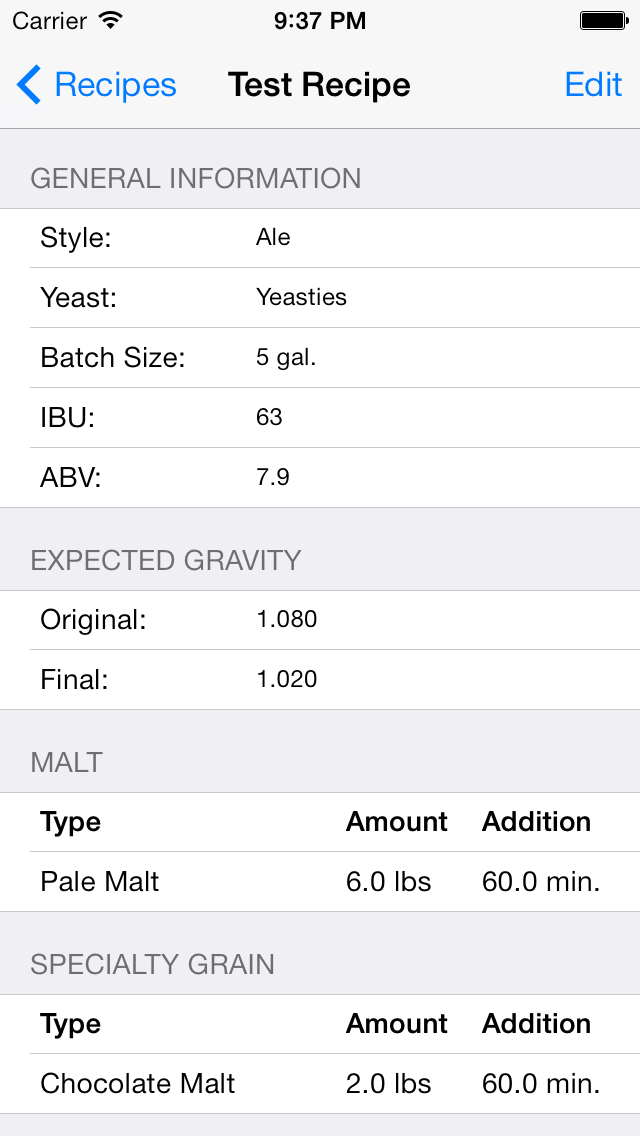
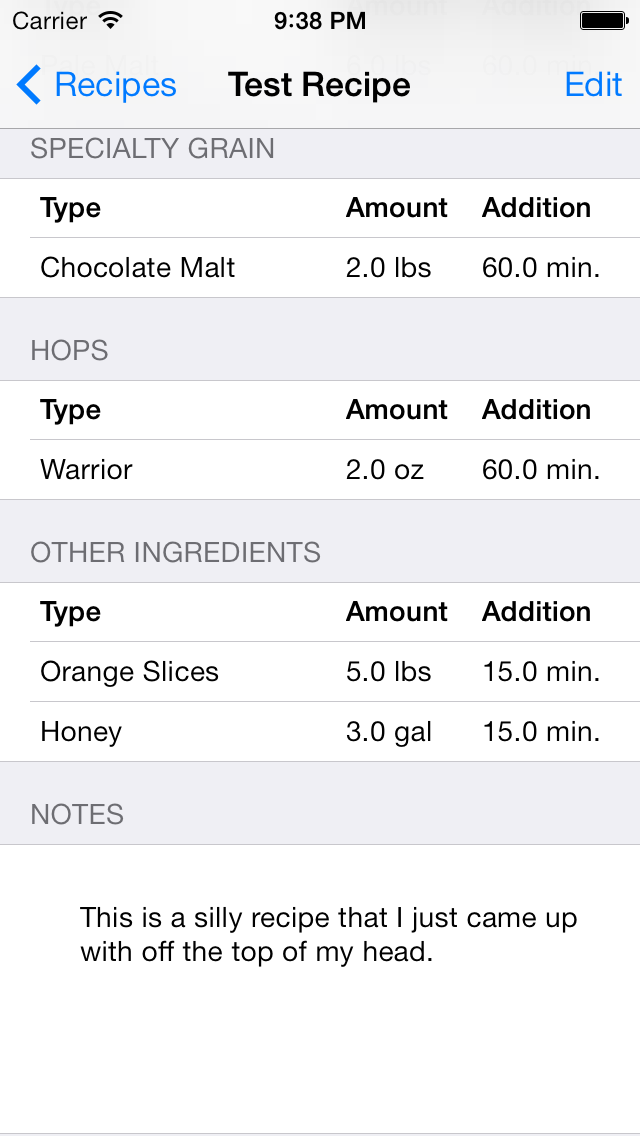
The recipes section will be used to store the detailed ingredients and steps to brew each recipe that the user inputs.  These will be associated with brews, both current and completed.

Current Brews

The current brews section tracks brews that are currently either being brewed (still in the kettle) or in some stage of fermentation. The main reason that this is important is for timers. These timers include:

  • Hop additions
  • Fermentation stages
  • Carbonation

Completed Brews

The completed brews section is a history of past brews.  This is helpful when, down the line, you crack open an old bottle of brew. So long as it's labeled, this section will allow you to go back and see what ingredients were used, how long it was fermenting, and how long it aged."

Show Finger Touches with Reflector or iPhone Demos with TouchPose

Touchpose-iPhone-Screen.png

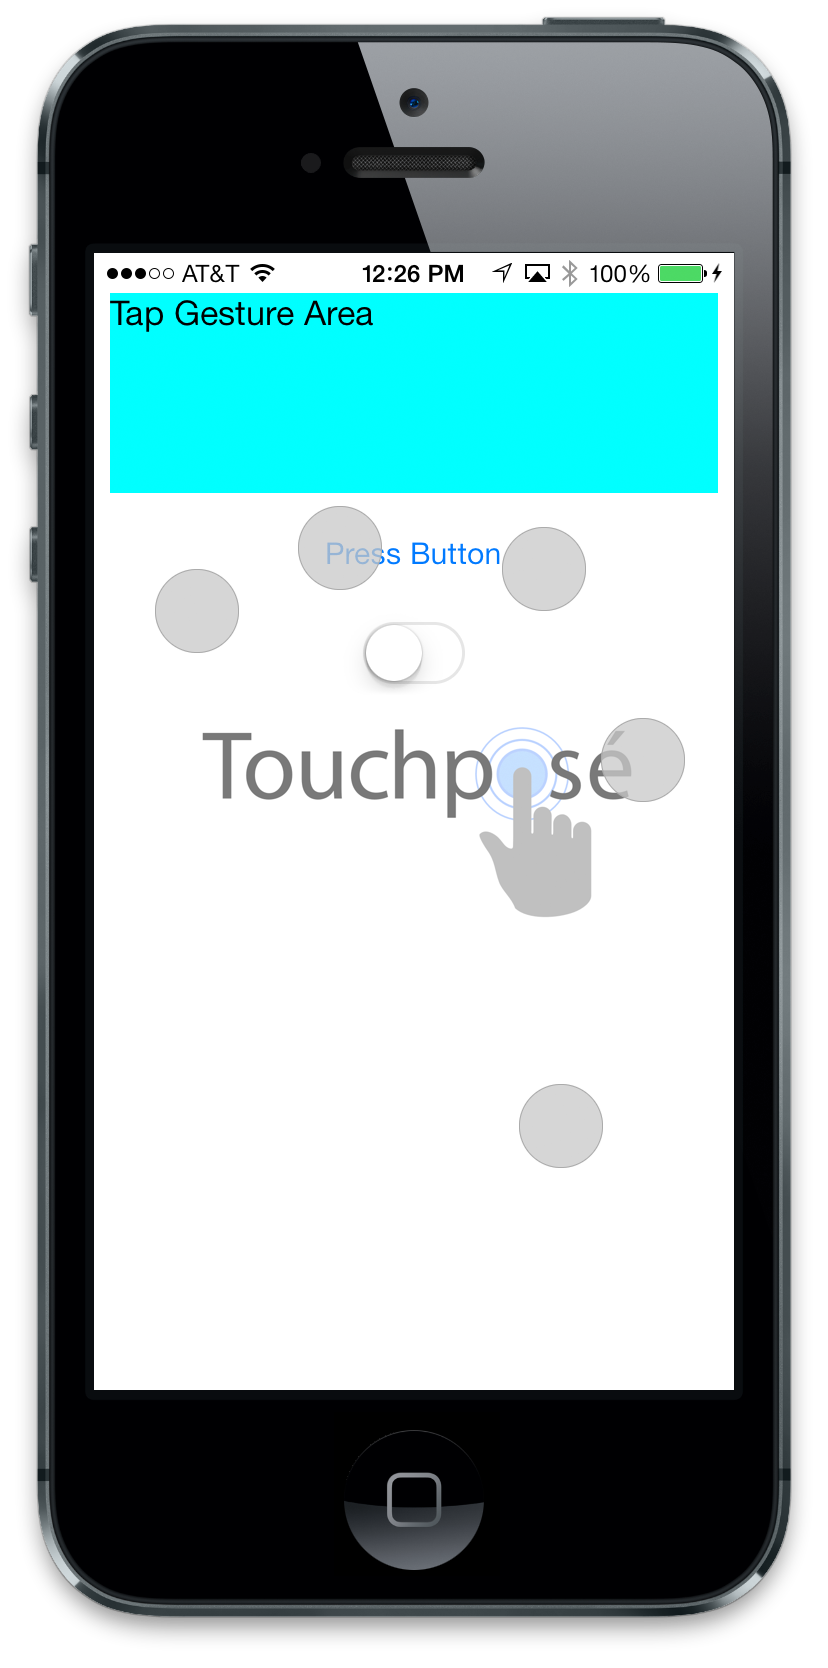
If you've used Reflector on Mac to create screen recordings or demo videos of your iPhone apps, you're going to want to use this code. I use a lot of gestures and touch input in my apps. To make it easy to see what the user is doing during a video or presentation in my development versions I now use Todd Reed's Touchposé to display the fingers. You can access my fork of Touchposé on github

Note: You can only show touches for code that you have access to. There isn't an option to do this in public iPhone or iPad apps.

Warning: Don't submit the Touchposé code to the App Store, keep it only in your development builds. I'll show you how to prevent accidentally submissions with a pre-processor variable. 

1. In your prefix header file (i.e. .pch file under Supporting Files in Xcode). Add code for a preprocessor variable called "APP_STORE_RELEASE". You'll want to change this value when you need to make an official release.

// Note: Set to 1 when ready to submit app to App Store
// Set to 0 for development and testing
#define APP_STORE_RELEASE 0


Find your .pch file in your Supporting Files folder on the left panel.

Find your .pch file in your Supporting Files folder on the left panel.

2. Drag QTouchposeApplication.h and QTouchposeApplication.m to your project navigator to add it to your project and target.

a. Make sure you copy the files into your destination group's folder.

b. Make sure you add it to any targets that will need to show touch input.

Check the boxes for "copy items into destination group's folder" and add to your app target.

Check the boxes for "copy items into destination group's folder" and add to your app target.

3. Open main.m under Supporting Files and add code to create the QTouchposeApplication when not building the app for the App Store. (i.e. we don't want to submit private APIs , or Apple will reject the app)

a. At the top add a header #include statement, but only include when not building for the App Store

#if !(APP_STORE_RELEASE)
#import "QTouchposeApplication.h"
#endif

b. In the main method brackets, update the code to be as follows.

#if !(APP_STORE_RELEASE)
return UIApplicationMain(argc, argv, NSStringFromClass([QTouchposeApplication class]), NSStringFromClass([AppDelegate class]));

#else
return UIApplicationMain(argc, argv, nil, NSStringFromClass([AppDelegate class]));
#endif
Update the code in main.m to only use the special QTouchposeApplication when not building for App Store

Update the code in main.m to only use the special QTouchposeApplication when not building for App Store

4. Open your AppDelegate and start Touchpose. You can play with the settings so that it's always visible, or only when your mirroring the display for Reflector or projectors.

a. Import the header file for QTouchposeApplication.h

#if !(APP_STORE_RELEASE)
#import "QTouchposeApplication.h"
#endif

b. In application:didFinishLaunchingWithOptions: update the code to show the touches. Typically I keep alwaysShowTouches to NO, unless I'm testing something or recording a video with ScreenFlow.

#if !(APP_STORE_RELEASE)
// For demo purposes, show the touches even when not mirroring to an external display.
QTouchposeApplication *touchposeApplication = (QTouchposeApplication *)application;
touchposeApplication.alwaysShowTouches = YES;
#endif

5. Enjoy!

Checkout my iPhone Game Showing Touches

We're working on a new game for iPhone called Bomb Dodge. We did a limited release that you can download called Protect the Bomb Checkout the video and let me know if the touches help you understand how the game plays.

Wrap-up

  1. Download my sample project or grab the source code from github.
  2. Subscribe to my iPhone newsletter.
  3. Grab Reflector if you don't have it, it's essential for recording demo videos of iPhone or iPad apps.
  4. Checkout my beginner iPhone development course on Skillshare.

Programmatic UIButton on iOS 7.0 - Create a UIButton with Code

Create UIButton in code

Create UIButton in code

1. Update (September 8th, 2014): Start learning Swift for iOS 8 with a new tutorial series using Xcode 6. [Click here to read about Swift 101]

2. New UIButton Tutorial (September 8th, 2014): Read and watch a tutorial series on how to create UIButton's in code.

Earlier I posted on how to customize UIToolbar buttons and UINavigationBar buttons (UIBarButtonItem). The tutorial was released before iOS 7.0, when Apple nixed the idea of having a graphical element around buttons.

If you're working on a game or want to still add a little embellishment (like me) then you're going to need to learn how to wrangle buttons on iOS 7.0. Adding buttons to the Interface Builder is easy, but when you first try to create a UIButton in code it's challenging. There's some hidden steps, or steps you might forget after you get accustomed to Auto Layout.

There's really three options for creating the UIButton. You can create the standard iOS 7 button, a modified iOS 7 button, or a custom button (more work). Apple recommends that you don't add subviews to the UIButton, but it is possible, and it's something we're doing in Bomb Dodge.

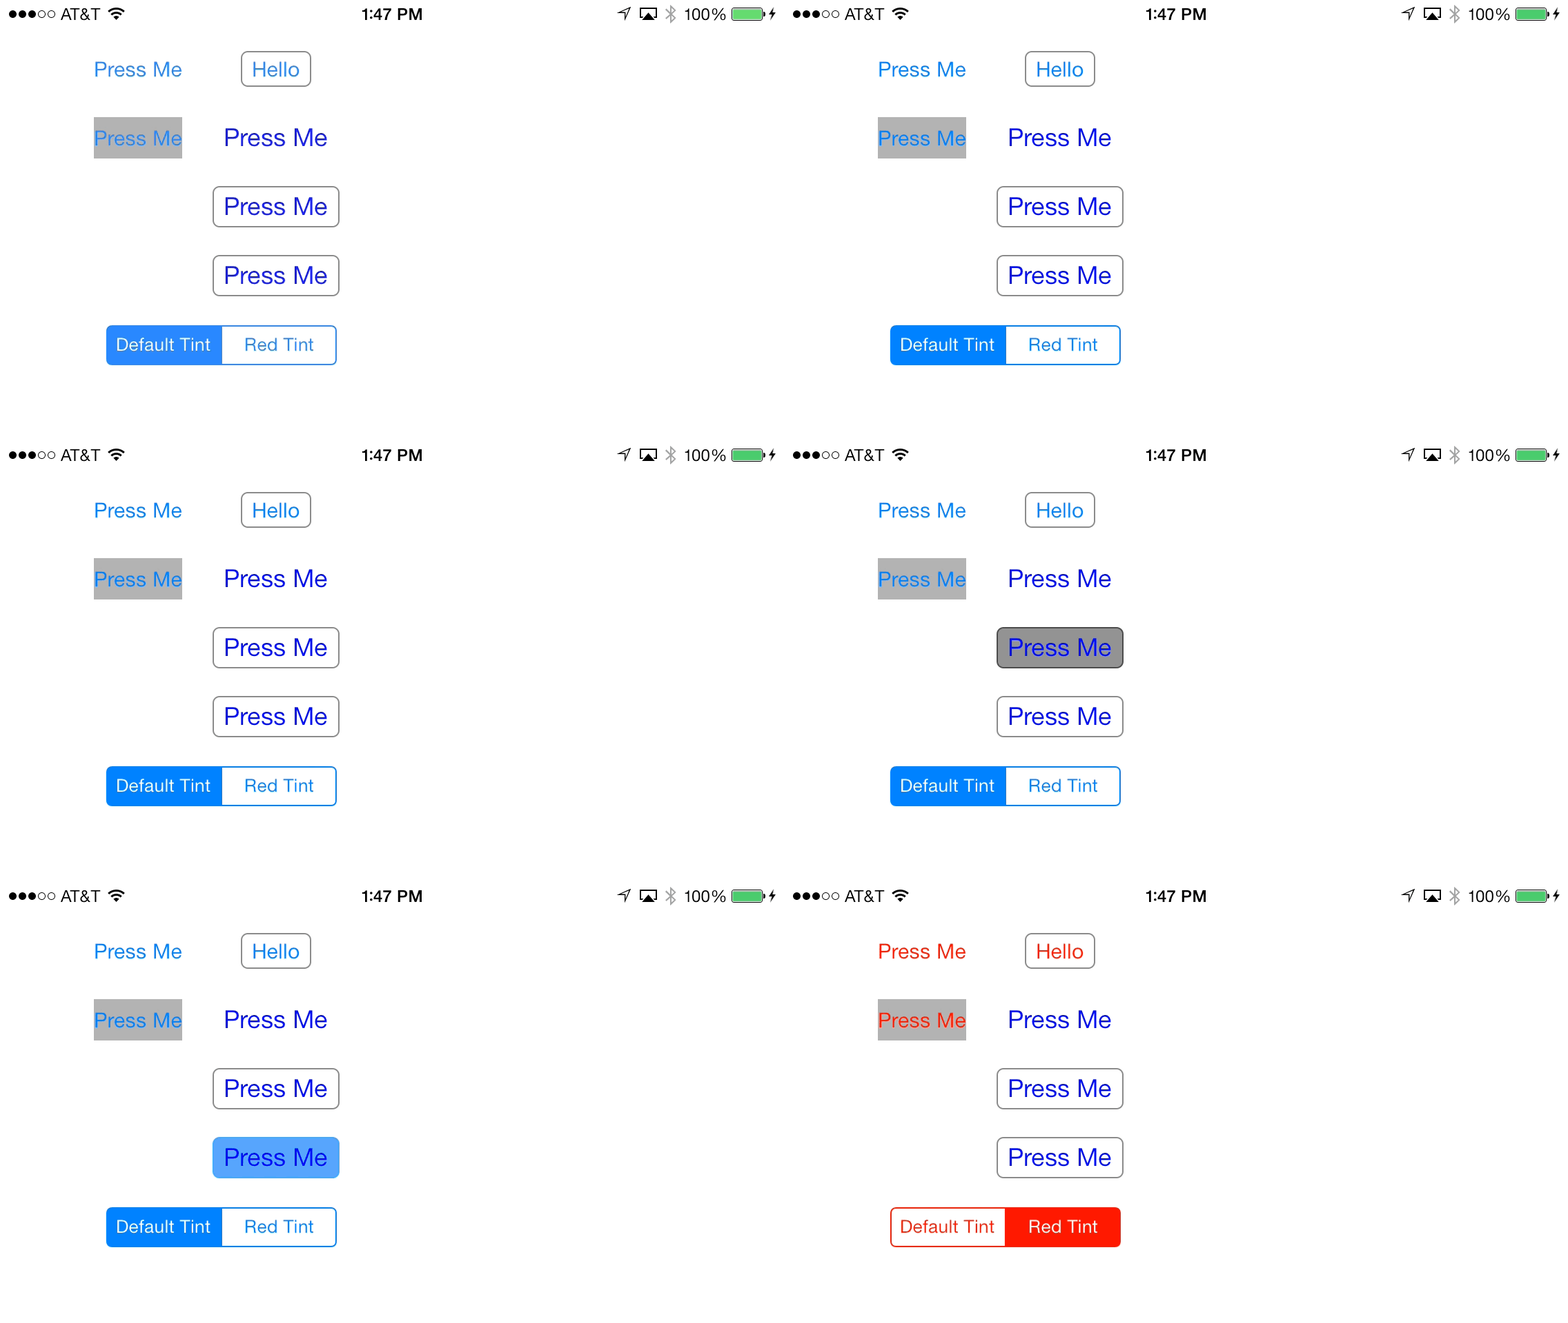
Each UIButton behaves differently when you tap it. Notice the tint color changes on the top.

Each UIButton behaves differently when you tap it. Notice the tint color changes on the top.


Programmatically Create a Standard iOS 7.0 UIButton

1. Create a button of UIButtonTypeRoundedRect and add it to the subview.

UIButton *button = [UIButton buttonWithType:UIButtonTypeRoundedRect];
[self.view addSubview:button];

2. You'll need to set the title for a UIControlStateNormal, otherwise you won't see any text. UIButton's are different than UILabel, we can't just set the text property

[button setTitle:@"Press Me" forState:UIControlStateNormal];

3. Ask the button to resize itself because it's currently a 0 width and 0 height button. We won't see it!

[button sizeToFit];

4. Give the button an initial placement position. Otherwise it'll be in the top left corner.

button.center = CGPointMake(100, 50);

Programmatically Create a Custom iOS 7.0 UIButton

I like to use background images to give my UIButton objects a bit more spunk. This works well, especially in games where you don't need to follow all of the iOS 7.0 guidelines. However, I do like to create a button that behaves like an iOS 7.0 button when it's tapped. You can get all the behavior if you use the UIButtonTypeRoundedRect with a background image. When the button is pressed, the title and the background will fade out.

UIButton *button = [UIButton buttonWithType:UIButtonTypeRoundedRect];
[self.view addSubview:button];
[button setTitle:@"Hello" forState:UIControlStateNormal];


We need to use UIEdgeInsets to create more space between the title text and the sides of the UIButton. On iOS 7.0 these buttons have no side space. We'll create the edge inset with 6 points on the left and right side, and two points on the top side.

[button setContentEdgeInsets:UIEdgeInsetsMake(2, 6, 2, 6)];
[button sizeToFit];
button.center = CGPointMake(200, 50);

We want to have variable width buttons (depending on the text), so we'll create a resizable UIImage. In PhotoShop you'll want to create a square image with the height you'll use in the app.

Note: I used 40x40 in this example for the retina size (i.e. Button@2x.png) I don't bother adding the non-retina version to my projects since Xcode will auto generate it, if it's needed.

When we create stretchable images we'll need to use the point system (not pixels). So that's essentially the non-retina size, which would be 20x20 points. We need this size, because our UIEdgeInsets will be based on the point system. The image can stretch horizontally, so we'll use half the width and height to get the center pixel of our image to stretch. 20/2 = 10. That means on the top, left, bottom, and right sides we'll use 10 points.

[button setBackgroundImage:[[UIImage imageNamed:@"Button.png"] 
  resizableImageWithCapInsets:UIEdgeInsetsMake(10, 10, 10, 10)] 
  forState:UIControlStateNormal];

Programmatically Make a Custom UIButton

The last type of button is totally custom, but it's going to take a lot more work to make it feel like a button. You'll need to add background images or you'll never see it press anything. You'll also need to update the text color and font and handle transitions between different press states.

UIButton *customButton = [UIButton buttonWithType:UIButtonTypeCustom];
[self.view addSubview:customButton];

[customButton setTitle:@"Hello" forState:UIControlStateNormal];
[customButton setContentEdgeInsets:UIEdgeInsetsMake(0, 4, 0, 4)];
[customButton sizeToFit];
customButton.center = CGPointMake(200, 100 + 50 * i);

[customButton setBackgroundImage:[[UIImage imageNamed:@"Button.png"] 
  resizableImageWithCapInsets:UIEdgeInsetsMake(10, 10, 10, 10)] 
  forState:UIControlStateNormal];

[customButton setBackgroundImage:[[UIImage imageNamed:@"ButtonHighlighted.png"] 
  resizableImageWithCapInsets:UIEdgeInsetsMake(10, 10, 10, 10)] 
  forState:UIControlStateHighlighted];

[customButton setTitleColor:[UIColor blueColor] 
  forState:UIControlStateNormal];

Learn More

Signup for complete iPhone courses that provide structured learning and cover everything you need to know to make iPhone apps.


Wrap-up

  1. Download the sample project and replace the image assets with your artwork.
  2. Subscribe to my iPhone newsletter.
  3. Checkout my beginner iPhone development course on Skillshare.